


Toyota VVTi 1JZGTE Simplification
VVTi 1JZGTE Swap Prep
Stock JZX100 1jz auto set
Suspicious Garage has created a comprehensive guide to simplify the VVTi 1JZGTE engine, a popular engine choice for car enthusiasts looking to enhance their vehicle's performance.
By simplifying the VVTi 1JZGTE engine, car enthusiasts can enjoy improved performance, increased reliability, and easier maintenance. And with the comprehensive guide provided by Suspicious Garage, the process of simplifying this engine has never been easier.
Overall, if you're looking to simplify your VVTi 1JZGTE engine, this guide from Suspicious Garage is a must-read. With their expert advice and top-quality parts, you can simplify your engine and enjoy all the benefits that come with it.
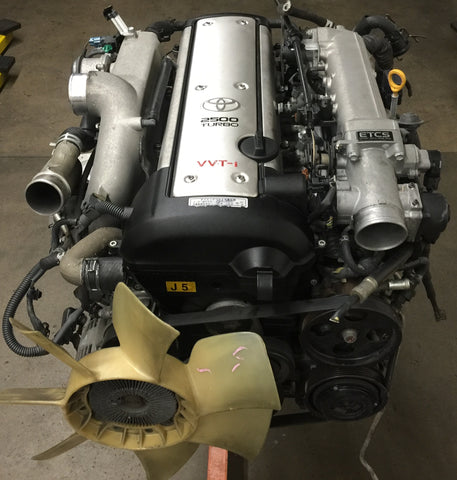
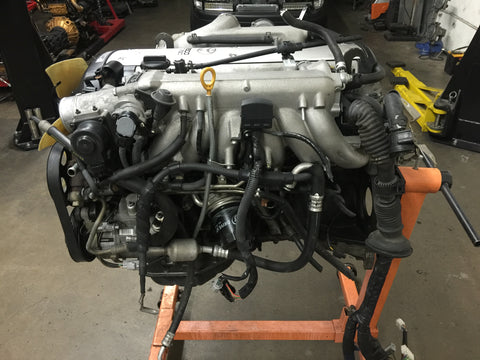
Intake view
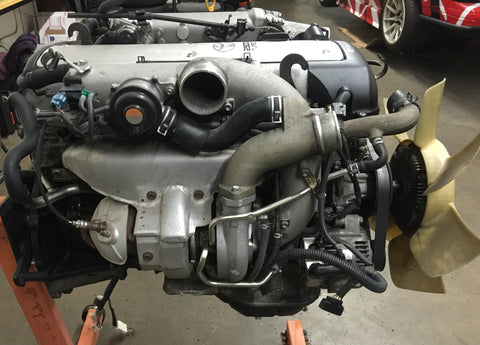
Exhuast/Turbo View
Because this 1jz will be going into a S14, we removed the clutch and fan assembly, as we cannot use it due to space restrictions.
Clutch and Fan Assembly

We will be running an aftermarket BOV, so the OEM VSV, associated wiring and lines can be removed.
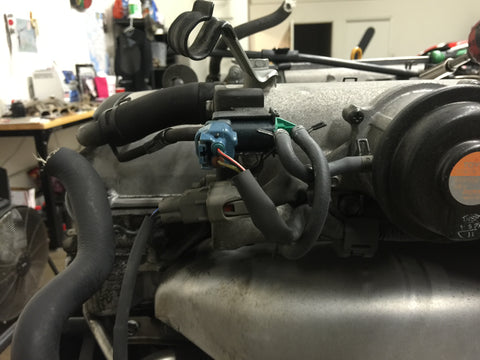
Gone, we will use the stock vacuum port for the aftermarket BOV.
VSV and associated lines
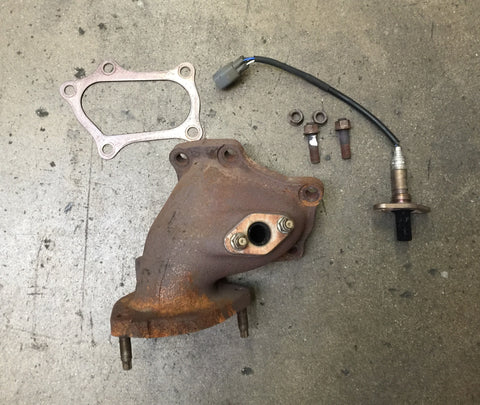
The OEM Turbo elbow is extremely restrictive, it will also be replaced with a Future Fab Downpipe
You can inspect the turbo while the stock elbow is off
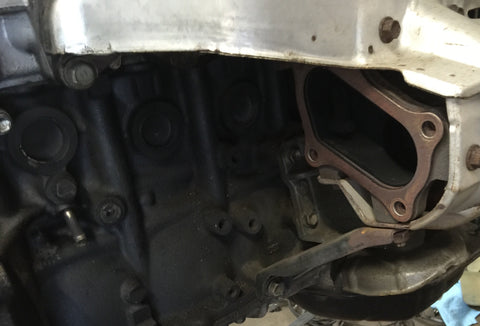
The OEM Ecu will be retained so the OEM O2 sensor will be reused on the new downpipe
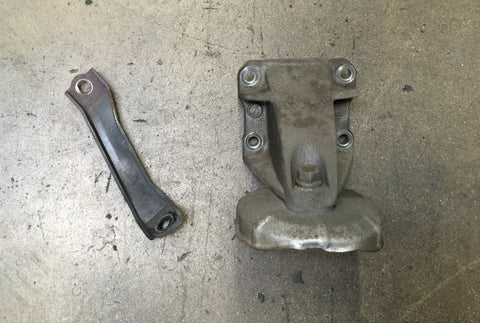
The exhaust side engine bracket can be removed since we will be using SG Conversion Brackets

Future Fab Downpipe installed

On the intake side there are two VSV's, fuel dampener, stock engine mount bracket that can all be removed

Water lines to throttle body, you can also see the OEM power steering line and vacuum source. All of which will be removed.


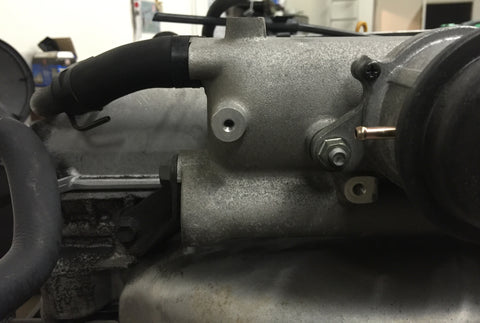
Water port for the TB that is no longer necessary

The water port for the TB, hose removed, it must be blocked off

UPDATE (01/01/17):
Port can be welded, but we have opted to pull the fitting (it a pressed-in steel tube in an aluminium head, a little heat and vice grips pulls it right out) and tap to 3/8 NPT.

Water to IACV, also removed

Fuel dampener can also be removed. The conversion mounts will bolt on to the two holes where the dampener was originally mounted.


Hard water pipe to water to oil cooler is visible after clearing out the VSV, lines and junk.

With the intake manifold removed you can see the lines, pedestal for the stock water to oil cooler. All of which will be removed.

Intake side with all unnecessary lines removed

Oil cooler and pedestal, stock engine bracket

UPDATE (01/01/17):
The return port from the OEM Oil cooler is 3/8 BSPT from the factory, in order to put an 3/8 NPT plug, you must run a 3/8 NPT tap through the port.

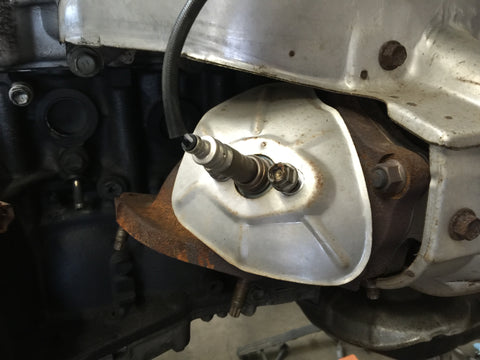
With the pedestal gone, there is no provision for the oil filter, we installed an Oil Cooler Delete Stud


OEM Water bypass hard pipe from water pump

The original pipe was modified to keep the correct flow of water. We will be running a heater core. The water outlet from the rear intake side of head will be routed to the heater core using a heater core conversion hose


We were not going to retain AC either, so we removed the compressor along with the stud left over from removing it.
AC Stud left from removing the AC compressor

AC compressor removed along with the stud that's in the block.

AC compressor with hardware

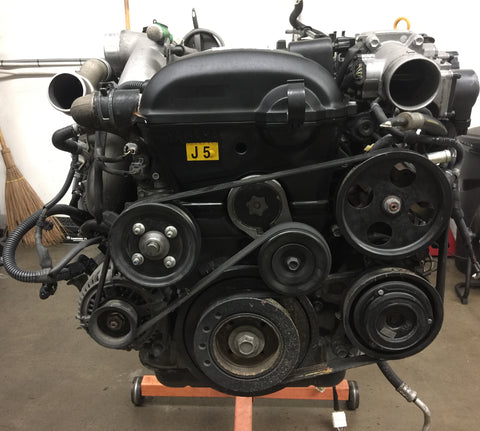
We will be installing a no AC serpentine belt
Another view of the side with intake partially removed

Top cover and upper intake manifold removed so the stock harness can be removed

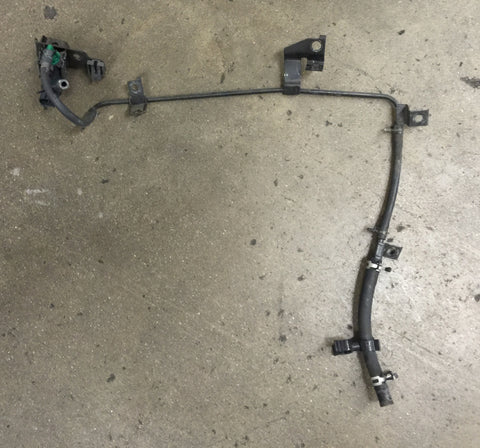
Stock engine harness removed so it can be converted.

At this time we also removed the coil packs for inspection and replacement of spark plugs.

Final view of simplified VVTi 1jz
Front

Intake

Exhaust

Top

4 Comments
how do you connect boost controller on this engine?
Awesome write up!
I followed this completely and I’m having a problem with my engine firing and instantly stalling with the ECU then going into protect mode.
I’m working on trying to wire obd
Can the stock ECU handle deleting the vsv lines?
Great write up guys! Just placed and order for a couple things and wanted to ask if you had a spare serp belt tensioner idler and bolt as my engine did not come with one.
Thanks!
- JoeAwesome! Good work on this